Select Image to Launch Demo
This Articulate challenge is to create your own background images. The idea is to plan your shots, shoot photos, then manipulate them to work in your project.
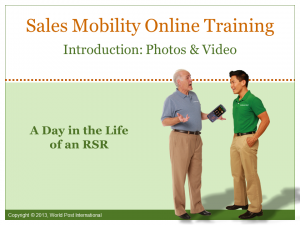
The Project
I wanted to share a software training piece I’d created at the eLearning Guild’s SolutionFest, but had to change both the branding and the industry before I could. That involved a lot of new development, including new background images and some video. Time for a photo shoot!
My Shot List
I scouted out a nearby business park and showed up with my shot list in hand. I’ll only share a couple of them in this post, but the shots I wanted and got were:
- From the parking lot looking back at the office building with my vehicle in plain view in the center.
- From the office building looking out to the parking lot with a field in the background.
- Looking down the alley of office park building back doors, plus some closer shots of the doors.
- A stop sign at the end of the alleyway.
- A video focused on the stop sign, then quickly panning down the alley and back.
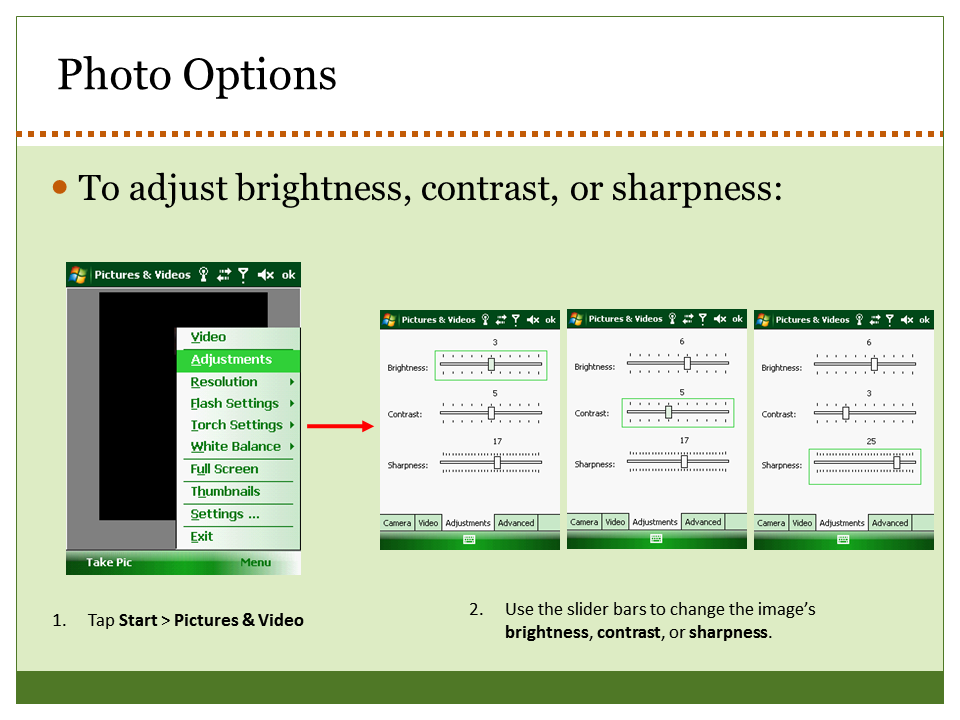
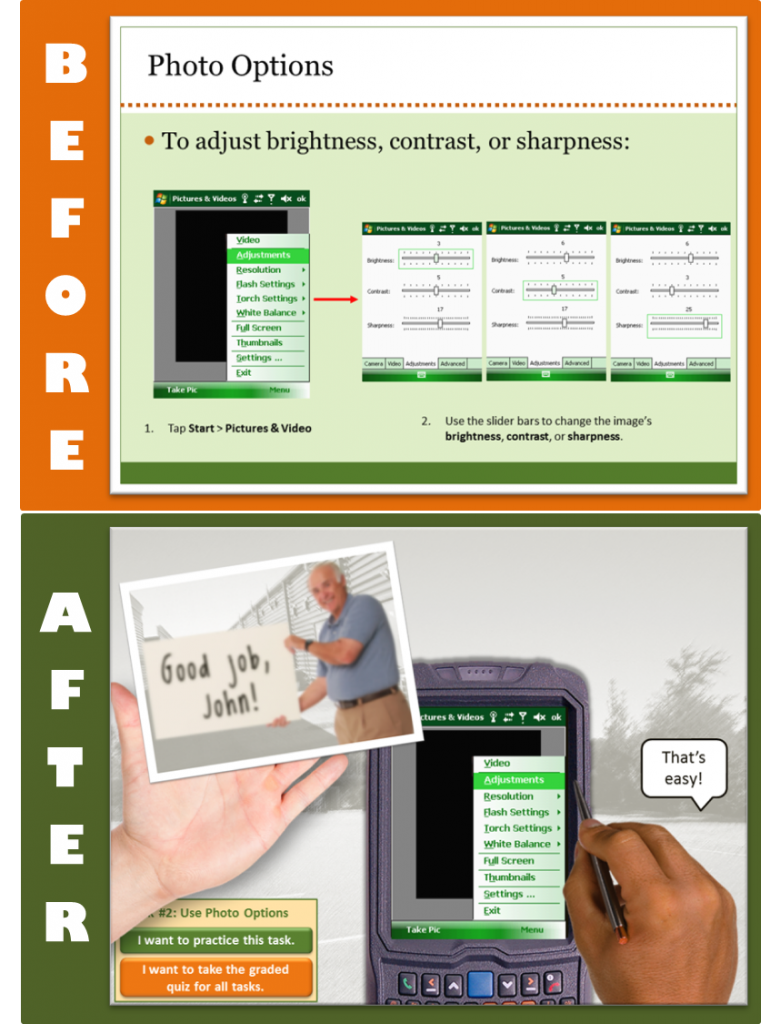
Image Manipulation
For the still images I cropped and manipulated them to match the style of the rest of the course, which I’d designed to de-emphasize the background to make it easier to focus on the content. Since I developed this in Articulate Studio ’09 it was quick and easy to use the PowerPoint image formatting options. I used a tan color and the “pastels smooth” artistic effect.
Shot #1: From Parking Lot to Building
For this shot I cropped the image so that the vehicle was easily visible between the characters so I could add the company logo to the door.

Shot #1: Original

Shot #1: Used in the Course
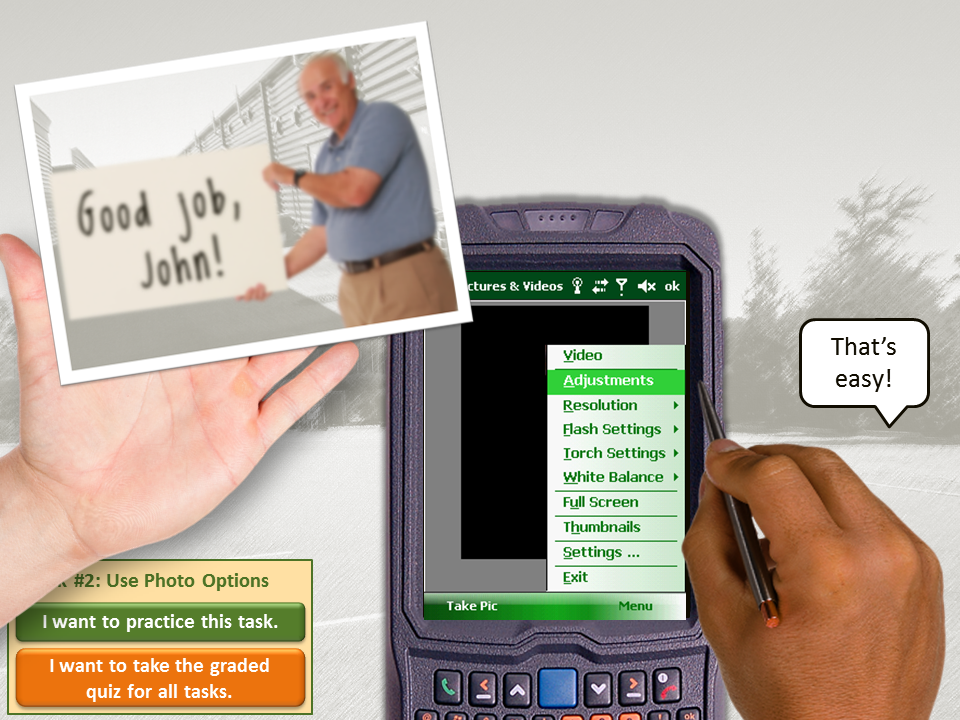
Shot #2: From Office to Parking Lot and Field
I wanted this shot to be very simple, with just a hint of parking lot stripes and nothing else to act as a distraction.

Shot #2: Original

Shot #2: Used in the Course
See The Whole Thing!
If you’d like to see the entire demo as I showed it at SolutionFest, which used all of the other shots on my list, you can view it right here. If you’d like to learn more about how I designed this project, all of the details are right here!
 My first question in every new project is: “How will the learner use this information in the real world?” Then I try to design the piece from the learner’s post-course real-world point of view to show them why they’ll care about it and when where and how it’s going to come in handy. Using effective context can add lot of interest and learner motivation, too.