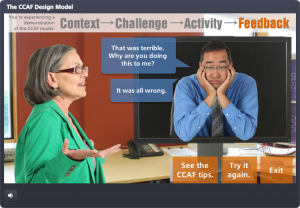
Select Image to Launch Demo
This week’s Articulate challenge is to create a demo of a digital learning magazine.
Inspiration
For approach, look, and feel I used Forma Magazine as my inspiration, using Charles Hamper’s suggestion to check out digital magazine samples at ReadyMag.
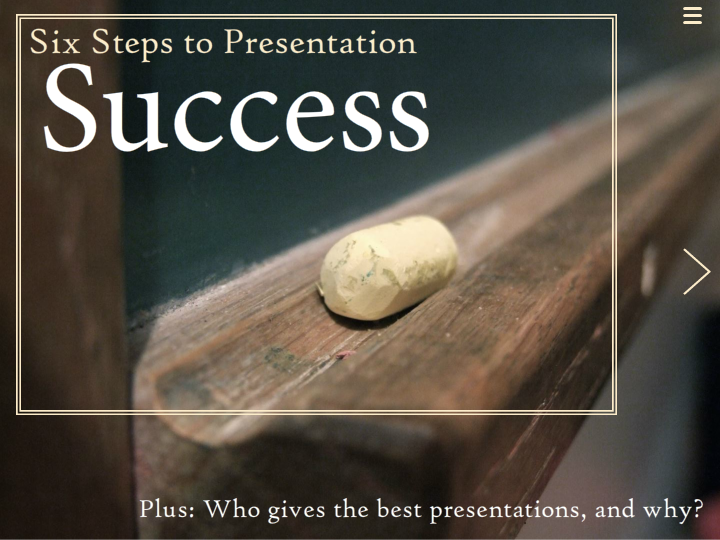
Content
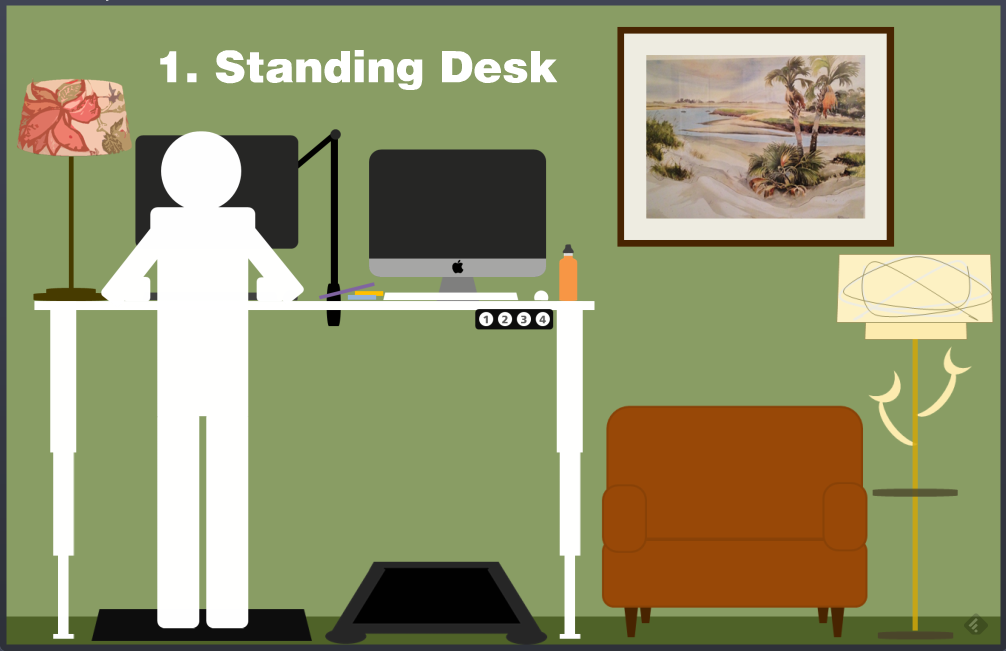
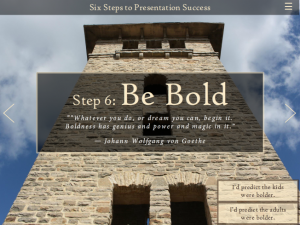
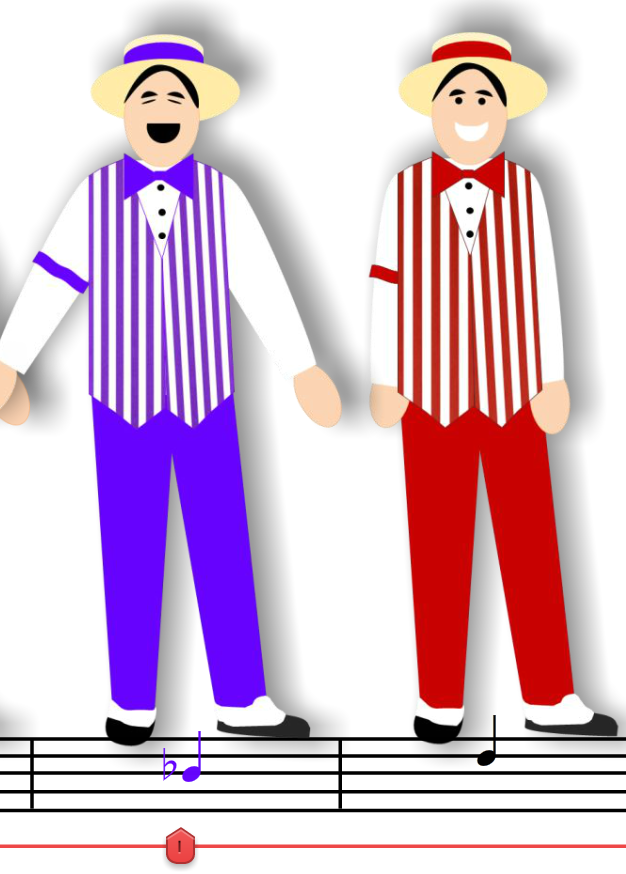
I decided on the topic of presentations when I found this post by speech coach George Torok who was comparing his experience judging 12-year-olds in a speech contest versus high-level sales and marketing executives giving their own talks. For this demo I wanted simple-yet-interesting content that was easy to explore and browse, so this worked. To make it easier to compare the adults versus children, I organized it into six steps and compared their performance for each one.
Since digital magazines tend to make the most of stunning photography, I found large images that would render well at MorgueFile.
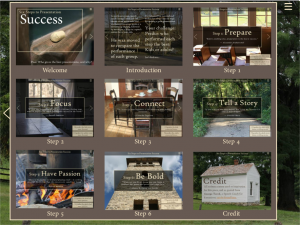
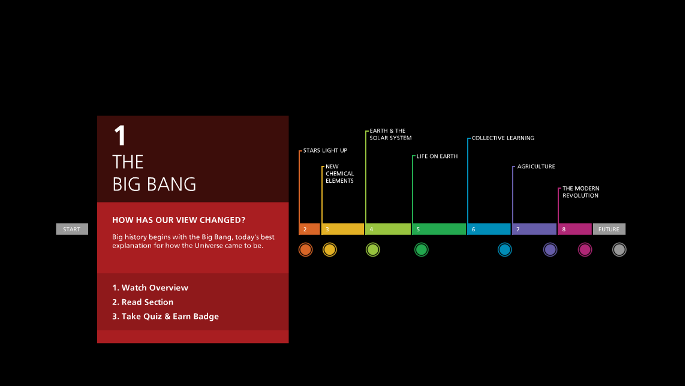
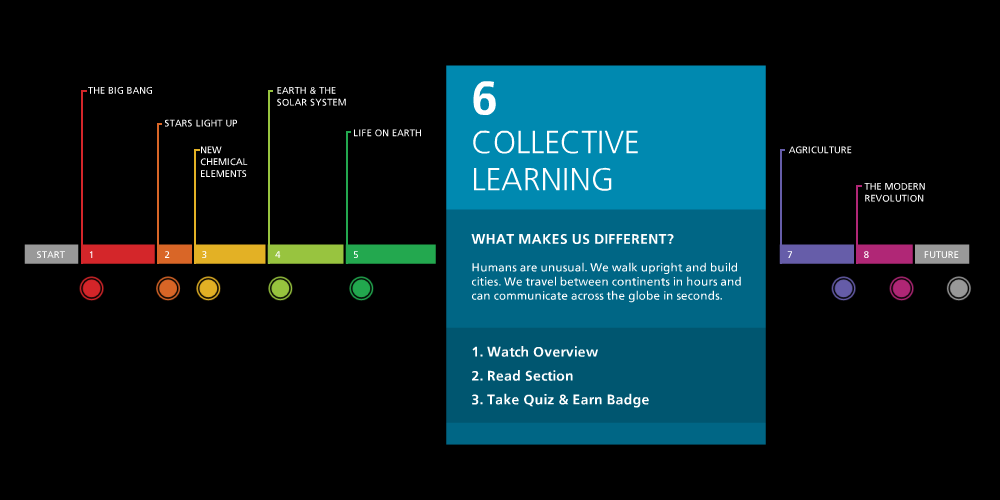
Jump-to-Screen Navigation
Navigation Options
I included two types of navigation to imitate Forma’s:
Screen-to-Screen: I used their approach of having on-screen right and left arrow icons. I also added hotspots on top of the arrows to make them easier to tap if you’re on a tablet. You could just add a trigger to the arrow image, rather than use a hotspot, but the target area would be too small to work well.
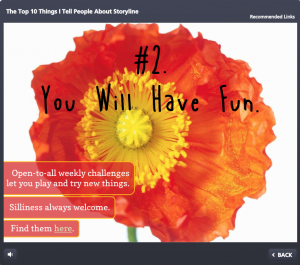
Jump-To: I might have been able to create a fabulous slider to imitate Forma’s jump-to navigation, but settled for the speedier option of a slide layer with thumbnails of each screen. It gives you an overview of the content, plus lets you jump around. You can access it via the menu icon in the upper right.
Check it Out!
Select Image to Launch Demo

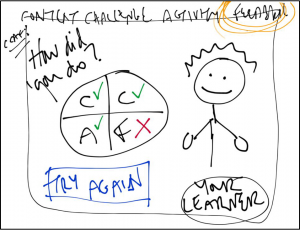
 The Post-Challenge Interview
 What if…