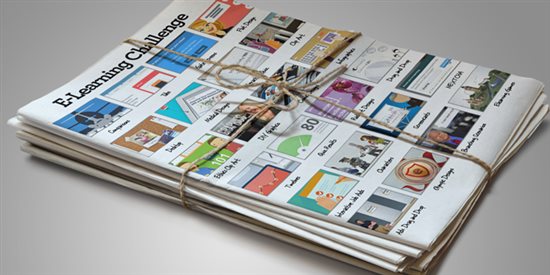
If you’re a Storyline fan you probably know its latest release features sliders, and this week’s challenge is to make things slide all over the place.
The Idea
I’d originally used the paper doll try-different-outfits inspiration in a drag and drop challenge at a time I was doing uniform and safety gear training. Revisiting it with sliders sounded like fun, but this time I chucked the serious gear so I could just play with dolls.
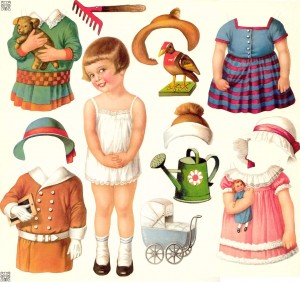
The Images
Visual Design
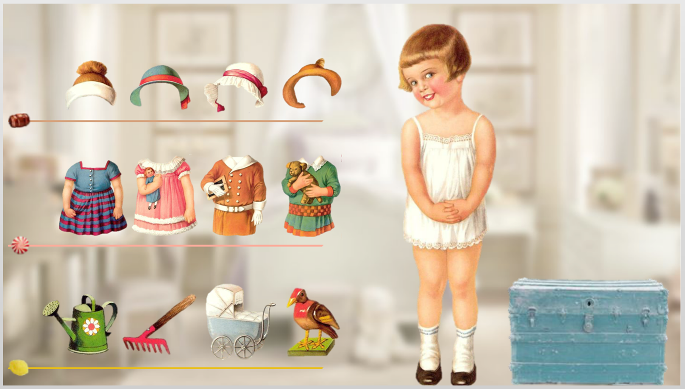
I went with vintage paper doll images I found, then got busy removing the background and cutting them apart in PowerPoint.
To set the scene I used a modern house with vintage style. The interior background is a girl’s bedroom. Vintage candy shapes (root beer barrels, peppermints, and lemon drops) on the sliders also set the tone.
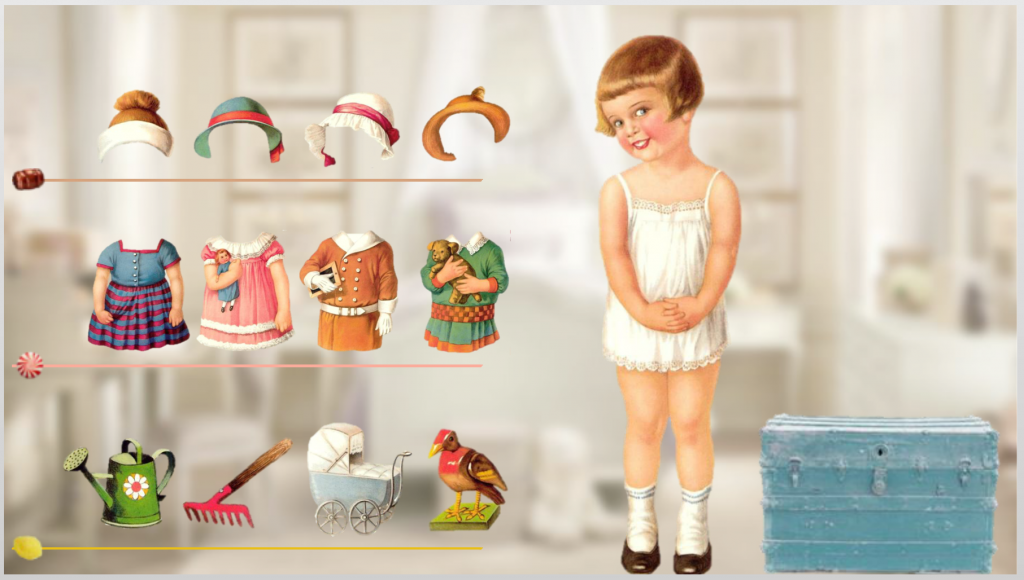
Three Sliders
Slider Design Steps
I created three sliders – one each for hats, outfits, and toys – all engineered the same way. This is how I did it in 8 pretty simple steps:
1. Added the slider: Insert > Controls > Slider. I chose the slimmest track style.
2. Added candy images to the thumb: Right click on the thumb > Format Shape > Picture or Texture Fill, then choose your image. The images will come in very small, but before clicking on anything else select Format > Size and increase the height and width as needed.
3. Formatted the tracks: With the slider selected, go to Slider Tools > Format and choose colors for your track fill and track border, then adjust the colors on your slider track hover states, if needed.


4. Set up the controls: With the slider selected, go to Slider Tools > Design. Here I renamed the default variable to “outfit_slider” and selected my preferred Update style. I wanted 5 slider positions: 0, 1, 2, 3, and 4 – which is why my Start selection says 0 and End says 4. The candy thumb is at the default position of 0, outfit one is at position 1, etc., and you progress between them in increments of 1 as indicated in the Step field.
5. Added slider images, states, and animation: I gave each image a state called Chosen, and for that state added the additional images I wanted to appear on the right, such as a dress on the little girl. I also added entrance and exit animations for those images on the Chosen state.
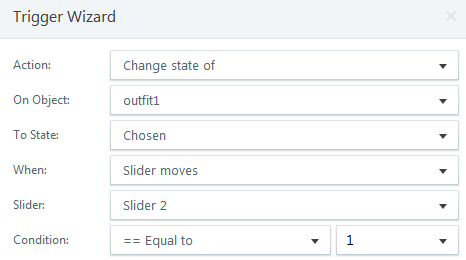
Trigger One: Display Chosen State
.
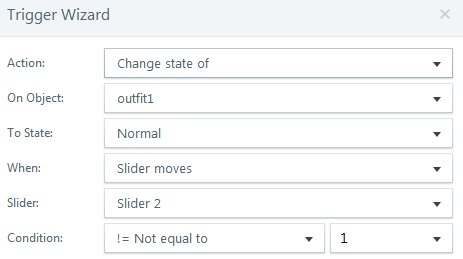
Trigger Two: Return to Normal State
.
6. Added slider triggers: For each slider item I created two triggers. One to display the Chosen state at the position I wanted it to appear, and one to return it to its Normal state.
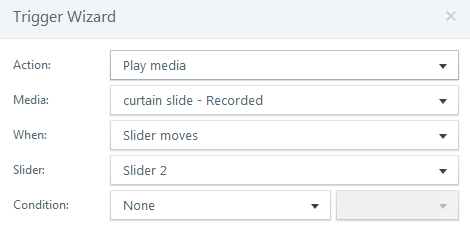
Trigger for Sliding Sound Effect
.
7. Added a sliding sound effect: I wanted a sliding sound as you move between each item on the slider, so I added the audio file and created one trigger per slider.
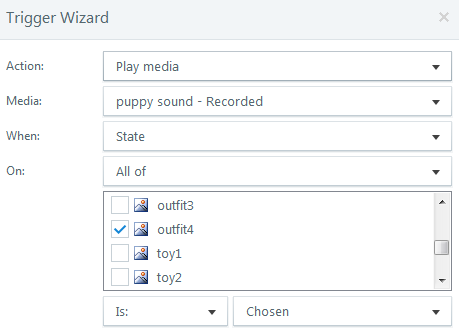
Trigger for Incidental Sound Effects
.
8. Added incidental sound effects: For the puppy sound, for example, I simply added a trigger that fires when the state of that image is Chosen.
Time to Play!
If you’d like to put together a few nice outfits, have your audio ready and try the demo right here.
