Select Image to Launch (New) Demo
I was always fond of this little passport how-to I did in Storyline 1, but when Articulate was kind enough to feature it on their E-Learning Examples page recently and people seemed to like it – it got me thinking about how I could update it using Storyline 2’s great features.
Navigation: Before & After

Before: A Tab-Based Layout

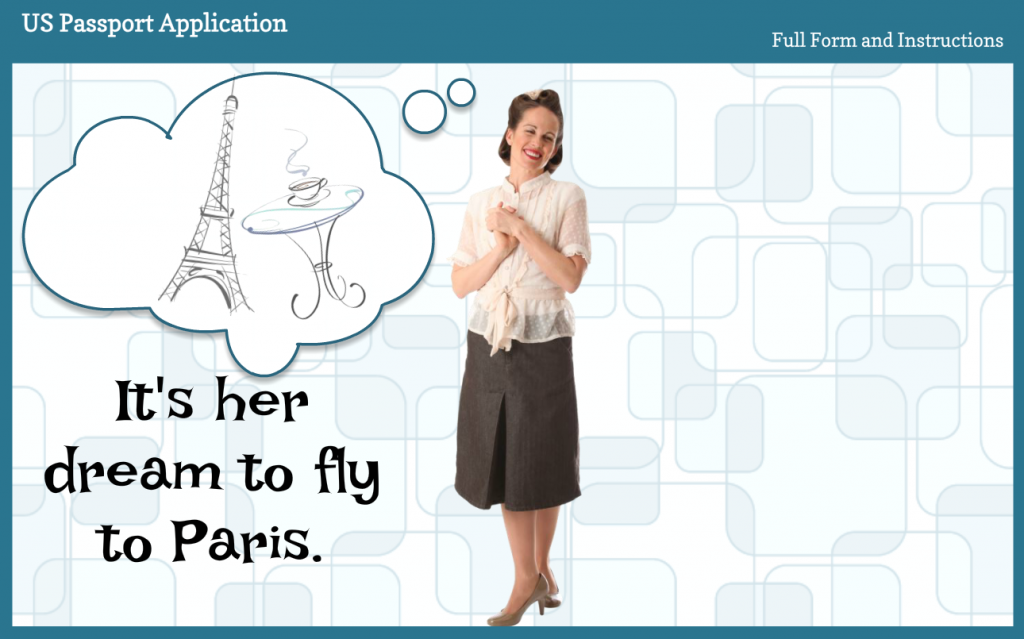
After: A Paris-Bound Jet Guides You
One of my favorite features in Storyline 2 is the slider for its ease of use and power to deliver a lot of information in a compact way.
I knew it would be perfect to get the entire application on one screen where the user could see everything from a high-level overview to a mid-level peek to detailed animations showing how to fill it out – simply by sliding the Paris-bound jet down the runway.
The thing is, you could still create this basic design in Storyline 1 (using this layout for a more compact presentation and navigating via clicking or tapping) – but there’s something about the slider that makes things like this easier to ideate, create, and (on the learner end) use.
Updated Animations

John Hancock Would Be Proud of the Signature Animation
The other feature-based update I made was to the animations. In the original I relied on a fade animation to bring in handwriting and typing, but being able to use the new built-in wipe animation improved the look and feel quite a bit, so I was happy about that.
See the Jet-On-the-Runway Slider!
Here’s the updated jet-fueled slider demo, and here’s the original demo for comparison. Enjoy – and bon voyage!


 Our Gators
 Our Golfers